Scanning the image sections |
|
|
| |
Scan the artwork
The Scanner window is identical to the one in ScanLevel, and you use it in the same way:
- Place the drawing face down on the scan bed.
- Click on the appropriate check boxes to set the scan type. See Setting the type of scanning.
- If you are using a manual-feed scanner, click on the pegbar to use, and calibrate it if necessary. See Selecting the pegbar to use.
- Ensure you are using the correct field chart by clicking on the Calibrate button and using the scroll list at the top of the Scanner Calibration dialog box. See Selecting the field chart to use.
- Set the scan resolution by clicking on the Resolution button. See Setting the scan resolution.
- Set the scan area, ensuring it encloses as much of the background as possible; use a Preview scan to help you. See Setting the scan area.
- If you are using an auto-feed scanner, calibrate the scanner. See Calibrating an auto-feed scanner.
- Click the Scan button to begin scanning the artwork.
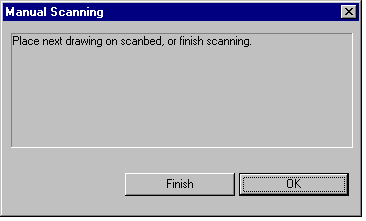
- When the scan is finished, a dialog box appears, asking you if you want to make more scans, or quit scanning: